
How to Use a Wet Stone to Sharpen a Knife Step by Step

Wet the stone and hold steady strokes. Sliding the blade across the damp surface at a consistent angle is the key to restoring a dull knife safely. Smooth passes raise a tiny rough lip of bent metal along the back of the cutting edge, telling you exactly when to flip the blade, repeat the work, and polish the edge clean.
A few details change based on your specific blade and stone. Sleek Japanese kitchen knives need a narrower tilt around fifteen degrees, whereas heavier Western blades rest closer to twenty degrees. Your stone might need a ten-minute water soak, or just a quick splash on the counter. A nicked, butter-dull edge starts on a coarse surface, but an everyday knife that simply feels sluggish can skip straight to a medium grit. Here is how to line up your hands and set up your workspace for clean, safe results.
Getting Your Stone and Workspace Ready
The term "whetstone" confuses many people because it sounds like "wet stone." In older English, "whet" simply means to sharpen. While some traditional stones use oil, most modern kitchen stones are waterstones lubricated with tap water. Setting up your workspace properly keeps your hands safe and stops the stone from sliding across the counter.
Use this preparation checklist before your blade touches the grit (the roughness number of the stone):
- Confirm stone type: Check whether your stone requires soaking or a quick splash. Traditional waterstones must submerge in water for 10 to 15 minutes until air bubbles stop rising. Splash-and-go stones have denser binders and only need water splashed across the surface before you begin.
- Anchor your station: Place a damp dish towel, a rubber mat, or an adjustable stone holder on a flat counter. If the block slips while you push down on a blade, your fingers can slip into the cutting path.
- Keep water nearby: Place a small bowl of clean water beside your board. Splash fresh droplets across the stone whenever the surface starts drying out.
- Clean the blade: Wash your knife with dish soap to remove grease. Surface oils can glaze the stone, clogging the grit and slowing down sharpening.
Finding and Holding the Correct Sharpening Angle
Finding the right angle and keeping it steady is the biggest hurdle for beginners. The angle determines the shape of the bevel (the angled slope leading to the sharp edge). If your wrist wobbles up and down while you stroke, you will round off that bevel and create a blunt edge instead of a crisp cutter.
You do not need special tools to find your angle. Stand the knife straight up at 90 degrees against the stone, tilt it halfway down to 45 degrees, then tilt it halfway again to reach roughly 22.5 degrees. Lower the spine just a fraction more, and you are in the standard sharpening zone.
The ideal angle depends on your knife style:
- Japanese kitchen knives: These blades use harder steel ground to a steep 15-degree slicing edge per side. If you own high-carbon Japanese chef knife sets, matching this narrower 15-degree angle delivers clean precision through vegetables and boneless meats. You can visualize 15 degrees by stacking two pennies under the spine.
- Western and German knives: Traditional Western blades use tougher steel shaped to a sturdy 20-degree utility edge per side. Many home cooks rely on German high-carbon steel knife block sets for chopping dense squash and poultry bones without chipping. You can estimate 20 degrees by resting the spine on a matchbook.
Consistency matters far more than mathematical perfection. If you hold an 18-degree angle steady through every pass, your knife will turn out remarkably sharp. Lock your wrist, keep your elbow close, and move your arms from your shoulders rather than flicking your hands.
How to Sharpen a Knife on a Wet Stone Step by Step
Sharpening a dull edge is a methodical process of cutting metal on coarse grit, establishing a wire edge, and smoothing that edge on fine grit. Follow these steps in order to sharpen your blade safely:
- Position the stone with the coarse grit side facing up. Starting on the lower grit number removes worn metal quickly to establish a clean bevel before fine polishing begins.
- Set the heel of the blade against the far end of the stone at your chosen angle. Starting at the heel lets you guide the full cutting edge across the abrasive surface down to the tip in smooth sections.
- Place two or three fingertips from your guiding hand flat on the blade face. Light, controlled downward pressure near the edge keeps the bevel resting flat against the stone without tipping.
- Push the blade across the stone in a diagonal sweeping motion. A continuous sweeping stroke ensures every curve of the edge receives equal contact with the abrasive grit.
- Release downward pressure as you bring the blade back to the start. Dragging the knife backward under heavy force can dig the fine apex into the stone and ruin your edge geometry.
- Splash water across the stone whenever the surface turns pasty or dry. Moisture suspends stone particles and metal shavings to build slurry (a muddy paste of water and stone dust) that lubricates each pass.
- Repeat strokes in sections until a burr forms across the entire opposite side. A burr (a tiny rough lip of bent metal) is proof that you have ground away enough steel to reach the very center of the edge.
- Flip the knife over to repeat the identical angle and stroke count on the second side. Sharpening both sides evenly keeps the cutting edge centered so your knife slices straight instead of drifting.
- Turn the stone over to the fine grit side for the final polish. A higher grit number smooths away harsh scratch marks left by coarse grit, leaving a clean, durable slicing edge.
- Make light, alternating strokes on each side to remove the remaining wire edge. Sweeping each side back and forth with feather-light pressure snaps off the fragile burr without rolling fresh metal over.
Checking for the Burr and Knowing When to Switch Sides
The burr is the single most important concept in stone sharpening. As you rub the bevel against the stone, the abrasive particles grind away steel. When you reach the very tip of the edge, the remaining sliver of steel becomes so thin that it folds over away from the stone. That microscopic lip is the burr. If you do not raise a burr, you have not ground down to the cutting apex, and your knife will stay dull.
Never check for sharpness by sliding your bare fingers along the length of the edge, which can cause severe cuts. Instead, place the soft pads of your fingers flat against the side of the blade that was facing away from the stone. Gently sweep your fingertips outward, moving from the spine down and off the cutting edge.
If you have sharpened enough, you will feel a faint, rough catch or tiny ridge along the edge, similar to rough cardstock or a wire lip. Check for this rough catch in three spots: near the heel, in the middle curve, and right at the tip. If the middle feels rough but the tip feels slick, make a few more passes on the tip section. Only flip the knife once that rough ridge extends continuously from heel to tip.
Relying on arbitrary stroke counts is a common trap. Counting ten strokes per side sounds neat, but dull knives rarely wear down evenly. If the belly did most of the cutting on your board, it will need more work than the heel. Let the physical feeling of the burr tell you when to switch sides, not a guessed number.
Cleaning, Drying, and Caring for Your Sharpening Gear
Once your knife is sharp, taking proper care of your tools protects the steel and keeps your next sharpening session effortless. Both your cutlery and your stones need basic post-sharpening maintenance.
Wash your knife immediately under warm tap water using a soft sponge and mild dish soap to wash away metal filings and stone grit. Wipe the blade dry with a cotton towel, keeping the sharp edge facing away from your hand. Never place kitchen knives in the dishwasher, where harsh detergents and rattling racks chip fresh edges. If your knife uses high-carbon tool steel, rub a single drop of food-safe mineral oil across the blade to stop moisture from causing rust spots.
Caring for your waterstone is just as straightforward:
- Rinse thoroughly: Wash the stone under running tap water to flush away the gray slurry. Do not use dish soap or cleaners, as chemical residues soak into the pores and break down stone binders.
- Air dry completely: Stand the stone on its side on a wire rack or folded towel in a well-ventilated room. Allow it to air dry for 24 to 48 hours. Storing a damp waterstone in a sealed box invites mildew growth and can soften the stone matrix.
- Flatten the surface: With use, the center of the stone wears down faster than the edges, creating a shallow dip. A dished stone rounds your knife bevels and ruins edge precision. Rub the surface with a coarse flattening plate under running water whenever a straightedge laid across the stone reveals gaps of light.
Choosing the Right Sharpening Accessories for Your Kitchen
You do not need a drawer full of gear to keep kitchen knives sharp, but a few basic accessories make sharpening safer and much more consistent.
When selecting a stone, a two-sided combination waterstone offers the best value. A practical combination pairs a medium coarse grit (around 400 to 1000) on one side with a fine finishing grit (around 3000 to 6000) on the reverse. The coarse side repairs dull bevels quickly, while the fine side refines the edge for smooth slicing.
Safety accessories are just as important. Look for a heavy-duty adjustable stone holder fitted with non-slip rubber feet. These holders clamp firmly around your stone, lifting it slightly above the counter so your knuckles do not strike the surface. A solid, non-marring grip stops the stone from shifting on slick counters, keeping your fingers safe from sudden slips. Finally, consider a dedicated flattening stone to keep your waterstones flat and level over years of regular cooking prep.
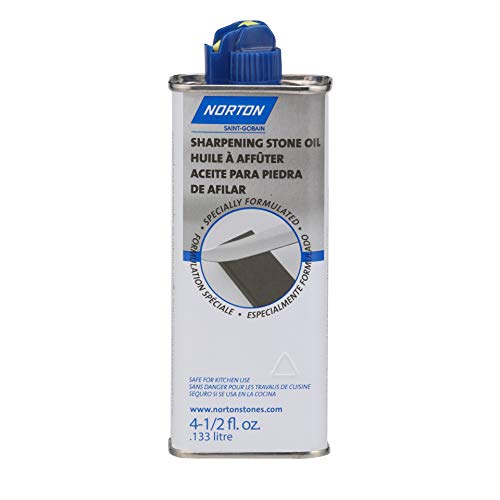
- TAR Score9.4
TAR Score is a ranking system developed by TopAppliancesReviews.com. TAR score has no relationship or impact from any manufacturers or sales agent websites. Learn more
- BrandNorton

- TAR Score9.4
TAR Score is a ranking system developed by TopAppliancesReviews.com. TAR score has no relationship or impact from any manufacturers or sales agent websites. Learn more
- BrandPOWERTEC

- TAR Score9.2
TAR Score is a ranking system developed by TopAppliancesReviews.com. TAR score has no relationship or impact from any manufacturers or sales agent websites. Learn more
- BrandWANGSHIQI
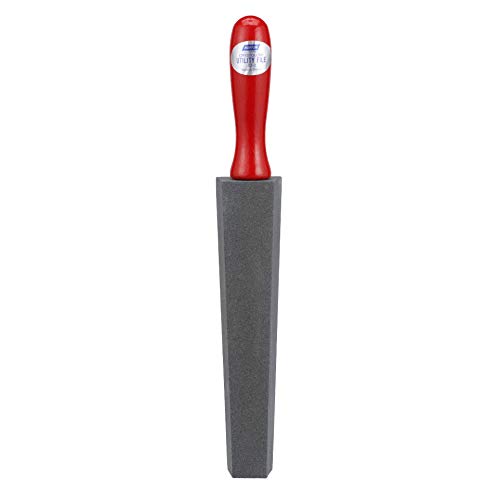
- TAR Score9.2
TAR Score is a ranking system developed by TopAppliancesReviews.com. TAR score has no relationship or impact from any manufacturers or sales agent websites. Learn more
- BrandNorton

- TAR Score9.2
TAR Score is a ranking system developed by TopAppliancesReviews.com. TAR score has no relationship or impact from any manufacturers or sales agent websites. Learn more
- BrandKING

- TAR Score8.8
TAR Score is a ranking system developed by TopAppliancesReviews.com. TAR score has no relationship or impact from any manufacturers or sales agent websites. Learn more
- BrandAli Industries

- TAR Score8.6
TAR Score is a ranking system developed by TopAppliancesReviews.com. TAR score has no relationship or impact from any manufacturers or sales agent websites. Learn more
- BrandSharp Pebble
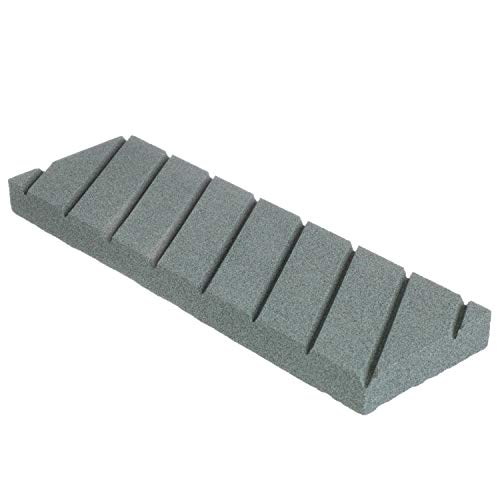
- TAR Score8.6
TAR Score is a ranking system developed by TopAppliancesReviews.com. TAR score has no relationship or impact from any manufacturers or sales agent websites. Learn more
- BrandNorton
Last update on 2026-09-30 / Affiliate links / Images, Product Titles, and Product Highlights from Amazon Product Advertising API
FAQs
How often should you sharpen a kitchen knife on a wet stone?
For most home cooks, sharpening on a wet stone every three to six months is plenty to keep blades in peak condition. Between stone sessions, use a smooth honing steel or leather strop every couple of weeks to realign microscopic bends in the edge. If your knife stops slicing cleanly through ripe tomato skins or slips on onion layers, bring out the stone.
Can you use cooking oil or motor oil on a sharpening stone?
Never put vegetable oil, olive oil, or motor oil on a sharpening stone. Cooking oils turn gummy and rancid over time, permanently clogging the abrasive pores. Waterstones should only ever be lubricated with clean water. If you own an oil stone made of Arkansas stone or silicon carbide, use only lightweight, food-safe mineral honing oil designed specifically for sharpening tools.
Why does my knife still feel dull after using a wet stone?
The most common cause of a dull blade after sharpening is failing to raise a burr across the entire edge before switching sides. If you flip the blade too early, you have not ground the steel down to the apex, leaving the original blunt edge intact. Another frequent mistake is wobbling your wrist, which rounds off the bevel into an obtuse shape instead of creating a crisp, thin cutting point.
Should beginners use an angle guide clip on the knife spine?
An angle guide clip that snaps onto the spine can be helpful during your first few practice sessions. It acts as training wheels to show you what a steady 15 or 20-degree tilt feels like against the stone. However, guide clips can scratch wide blades and do not adjust well to the curved belly near the tip, so practicing freehand muscle memory is better for long-term control.


Top Rated Best Quality Range Hoods: 2026 Expert Picks

The 12 Best Small Solar Generators 2026

10 Best Quality Semi Automatic Washing Machine of 2026 For Leak-Free Laundry

11 Best Small Washer Machine of 2026 For Everyday Laundry

12 Best Vibration Pads For Washing Machine of 2026 To Stop Walking and Shaking

11 Best Selling Front Load Washing Machine of 2026 For Quiet Odor-Free Laundry

11 Best Washing Machine For King Size Bedding of 2026 To Prevent Cycle Errors

10 Best Small Front Loader Washing Machine of 2026 For Tight Closets






