
How to Use a Tumbler Knife Sharpener Safely and Evenly

There is nothing to stress over when setting up a rolling sharpener, because the magnetic block holds the blade at a fixed angle for every pass. The main routine simply involves mounting the knife flat against the magnetic base and rolling the diamond disc back and forth along the cutting edge until a tiny metal ridge forms. Turning the knife around and polishing the steel with the smooth honing disc completes the job.
A few blade details will adjust your process. Thinner Asian knives call for the fifteen-degree block, whereas standard Western kitchen knives hold up best at twenty degrees. Exceptionally tall blades like cleavers need a raised cutting board so the roller reaches the steel, and dull blades simply need extra passes to reshape the slanted cutting edge. Here is how to line everything up and sharpen your knives evenly from heel to tip.
Match the Sharpening Angle to Your Knife Style and Secure the Blade
Kitchen blades generally feature one of two cutting bevel profiles. A steep 15-degree slicing edge per side is standard for delicate Japanese knives, like those in high-carbon Japanese chef knife sets. This acute angle creates a narrow, razor-sharp edge designed for clean cuts through boneless meats, fish, and produce. In contrast, Western cutlery relies on a sturdy 20-degree utility edge. Many German high-carbon steel premium knife block sets come ground at 20 degrees because the wider metal shoulder resists chipping when chopping dense vegetables or meat near bone.
Matching the magnetic block to your knife preserves the factory bevel, which is the slanted cutting edge of the knife. Placing a 20-degree German chef knife against a 15-degree block forces you to grind away substantial steel to reshape the shoulder before reaching the apex. Placing a 15-degree Japanese blade against a 20-degree block creates an unnecessarily blunt secondary bevel that impairs slicing performance. Check your knife packaging or manufacturer guide if you are unsure of the original factory angle.
Set the magnetic block on a wooden cutting board or clean counter. Place the flat face of the blade flush against the magnetic side, keeping the cutting edge pointed up toward the ceiling. The magnetic face holds the steel at a fixed angle throughout the process. Ensure the blade spine rests parallel to the table surface and the edge sits fully exposed. If the blade tilts or slips, reseat it so the magnet makes solid contact with the steel.
Roll the Diamond Disc With Steady Contact From Heel to Tip
The coarse diamond disc, typically around 400 grit, acts as the primary grinding surface. In sharpening terms, grit refers to the coarseness of the abrasive disc, with lower numbers indicating larger particles that remove metal quickly. This diamond disc repairs dull steel and establishes a fresh cutting bevel.
Follow these steps to roll the diamond disc across the blade:
- Position the roller at the heel. Place the roller on the counter with the diamond disc flush against the heel, which is the back end of the edge closest to the handle.
- Apply light sideways pressure. Press the diamond disc against the bevel with just enough force to keep contact, without sliding the magnetic block across the table.
- Roll smoothly toward the tip. Push the roller forward in a straight line along the counter, letting the diamond surface track evenly from the heel past the tip.
- Pull the roller back in reverse. Keep the disc flush against the bevel and pull the cylinder back to the heel. This back-and-forth motion equals two passes.
- Maintain a steady rhythm for twenty to forty passes. Slightly dull blades need fifteen to twenty passes, while neglected blades requiring a fresh angle need forty to fifty passes.
Keep your rolling speed smooth and controlled. Rushing causes the roller to bounce off the tip or wobble, which can scratch the blade face above the edge. Rest your other hand lightly on the magnetic block to hold it steady during each pass.
Feel for the Raised Wire Ridge Before Flipping the Knife
Never flip your knife over simply because you finished counting passes. The only reliable sign that a blade has been sharpened on the first side is the appearance of a burr. A burr is the microscopic wire edge or curved sliver of metal that forms on the opposite side during sharpening. As the diamond disc grinds away dull steel, it pushes displaced metal over the apex to the unground side. If that ridge has not formed along the entire edge, the blade will not cut cleanly.
Check your progress using these physical checkpoints:
- Wipe metal dust away: Wipe the blade face clean with a dry cloth so loose metal dust does not fool your sense of touch.
- Feel the unsharpened side: Place your thumb flat against the blade face facing the magnetic block and stroke gently upward toward the cutting edge. Never slide your finger along the length of the razor edge.
- Identify the rough wire ridge: Feel for a distinct, scratchy lip catching your fingerprint along the far side of the edge.
- Confirm the burr from heel to tip: If the heel feels rough but the tip feels smooth, resume rolling the diamond disc on the same side until the ridge runs continuously from front to back.
Once verified, detach the knife from the magnetic block. Turn the knife around so the unsharpened face points outward, reattach it flat against the magnets, and repeat the same number of diamond rolling passes on the second side.
Refine the Cutting Edge With the Ceramic Disc and Leather Strop
Grinding with coarse diamond leaves microscopic scratch marks along the bevel. While the knife may feel sharp, that rough edge tears through food rather than gliding cleanly. To finish the blade, smooth those grind lines and remove the wire ridge using a fine ceramic disc and a leather strop. A strop is a leather strip used for final polishing and edge realigning.
Follow these steps to clean and hone the sharpened edge:
- Rotate the roller to the ceramic side. Turn the cylinder around to expose the fine ceramic disc, which features a higher grit rating to polish the steel.
- Hone the first side. Roll the ceramic disc back and forth along the edge for ten to fifteen passes using light pressure to smooth coarse grind marks.
- Flip the knife and hone the second side. Detach the blade, flip it over against the block, and roll the ceramic disc for an identical ten to fifteen passes on the reverse bevel.
- Polish the edge on the leather strop. Lay your leather strop flat on the counter. Place the knife bevel against the leather at the matching angle and draw the knife backward, leading with the spine and trailing the cutting edge. Never push the edge forward into the leather. Make ten trailing strokes per side.
After stropping, wipe the blade clean with a soft towel. Confirm your edge by slicing through a sheet of standard copy paper. The blade should catch effortlessly and slice from heel to tip without snagging or tearing.
Modify Your Technique for Curved Tips and Oversized Blades
Not every kitchen knife has a straight, flat profile like a nakiri or utility knife. Sweeping chef knives, curved santokus, and tall cleavers present physical hurdles that require small adjustments to keep the bevel uniform.
When sharpening a blade with a pronounced upward curve near the tip, a straight rolling stroke can lose contact with the steel near the point. If the roller stays flat on the table while the knife belly curves upward, the abrasive disc only touches the lower edge, leaving the tip dull. To solve this, guide the roller along the contour of the blade. As the disc reaches the curving belly, gently swivel the roller slightly so the abrasive surface stays flush against the upward sweep of the steel. Do not lift the roller off the counter. Ensure the face of the disc remains parallel to the curve until clearing the tip. Rolling past the tip without supporting the edge can round off the sharp point.
Tall knives, such as Chinese cleavers, create a height issue. If the cutting edge rises above the top rim of the rolling cylinder, the abrasive disc strikes the side of the blade rather than the bevel. Resolve this by elevating the rolling sharpener. Place a flat, stable wooden cutting board directly in front of the magnetic base as a raised track for the roller. Raising the roller restores horizontal alignment so the disc contacts the cutting edge at the precise angle. Small paring knives create the opposite challenge because thick handles bump into the counter. Mount paring knives higher on the magnetic face so the handle hangs clear past the edge of the block.
Select the Right Rolling Sharpener Features for Your Knife Collection
Choosing a rolling sharpener system comes down to matching the tool to the specific blades in your kitchen. Look for a kit that provides magnetic angle options suitable for your collection. If you own both thin Asian slicing blades and robust Western chef knives, ensure the magnetic block features both 15-degree and 20-degree faces. Some specialized kits offer companion angle blocks with lower angles like 10 or 12 degrees for fine filleting knives, or wider angles like 25 degrees for outdoor tools.
Pay close attention to the abrasive discs included with the roller. A reliable setup requires at least two distinct grit stages: a coarse diamond disc around 400 grit to establish the bevel and remove dull steel, and a fine ceramic or corundum disc between 1000 and 3000 grit to refine the cutting edge. If you prefer a mirror finish on delicate cutlery, look for systems that accept ultra-fine replacement discs up to 6000 grit. Finally, verify that the kit includes a genuine leather strop to remove the final microscopic wire burrs.

- TAR Score10.0
TAR Score is a ranking system developed by TopAppliancesReviews.com. TAR score has no relationship or impact from any manufacturers or sales agent websites. Learn more
- Brandversa vibe
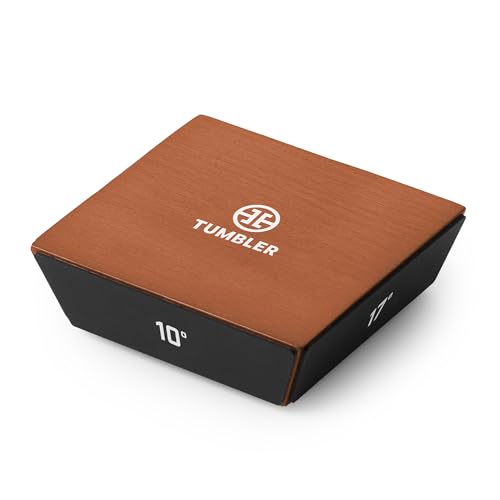
- TAR Score9.2
TAR Score is a ranking system developed by TopAppliancesReviews.com. TAR score has no relationship or impact from any manufacturers or sales agent websites. Learn more
- BrandTUMBLER
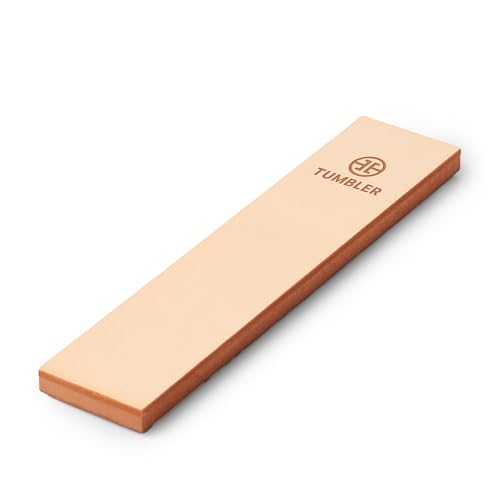
- TAR Score9.2
TAR Score is a ranking system developed by TopAppliancesReviews.com. TAR score has no relationship or impact from any manufacturers or sales agent websites. Learn more
- BrandTUMBLER

- TAR Score8.8
TAR Score is a ranking system developed by TopAppliancesReviews.com. TAR score has no relationship or impact from any manufacturers or sales agent websites. Learn more
- BrandTUMBLER

- TAR Score8.8
TAR Score is a ranking system developed by TopAppliancesReviews.com. TAR score has no relationship or impact from any manufacturers or sales agent websites. Learn more
- BrandAIERLIAN
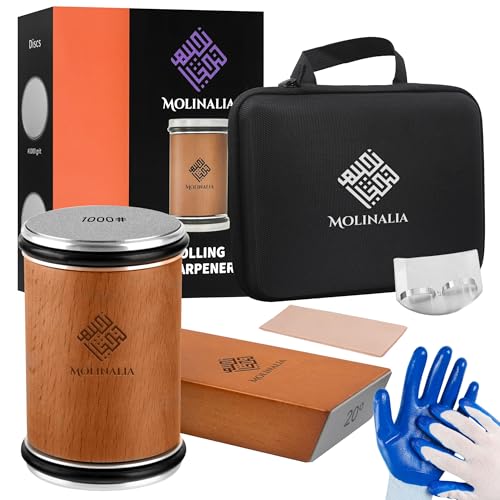
- TAR Score8.8
TAR Score is a ranking system developed by TopAppliancesReviews.com. TAR score has no relationship or impact from any manufacturers or sales agent websites. Learn more
- BrandMOLINALIA

- TAR Score8.6
TAR Score is a ranking system developed by TopAppliancesReviews.com. TAR score has no relationship or impact from any manufacturers or sales agent websites. Learn more
- BrandOrivix

- TAR Score8.6
TAR Score is a ranking system developed by TopAppliancesReviews.com. TAR score has no relationship or impact from any manufacturers or sales agent websites. Learn more
- BrandTUMBLER

- TAR Score8.2
TAR Score is a ranking system developed by TopAppliancesReviews.com. TAR score has no relationship or impact from any manufacturers or sales agent websites. Learn more
- BrandTUMBLER
Last update on 2026-10-28 / Affiliate links / Images, Product Titles, and Product Highlights from Amazon Product Advertising API
FAQs
How often should you sharpen kitchen knives with a rolling sharpener?
Most home cooks only need to run their primary chef knife across the diamond disc every two to three months. If you use your knives daily on wooden cutting boards, a quick pass on the ceramic disc or leather strop every couple of weeks keeps the edge aligned. Coarse diamond discs remove metal, so reserve full sharpening sessions for when the blade begins sliding off tomato skins or crushing herbs.
Can the magnetic block scratch the sides of a knife blade?
The magnets themselves do not scratch steel, but trapped metal filings and airborne grit can cause faint swirl marks on polished blade faces. Always wipe both the blade and the rubberized magnetic surface with a clean microfiber cloth before mounting the knife. If you own prized knives with mirror finishes or etched damascus patterns, placing a strip of thin painter tape over the blade face prevents contact scratches without weakening magnetic hold.
Why does my knife still feel dull after completing the rolling steps?
The most common reason is failing to raise a full burr along the entire cutting edge during the initial diamond stage. If you flip the blade before that thin wire ridge forms from heel to tip, the two bevels never meet at a crisp apex. Reattach the knife, roll the coarse diamond disc until you feel the rough metal lip on the opposite side, and then proceed with the fine ceramic disc and strop.
Do rolling sharpener discs require water or honing oil during use?
Rolling sharpeners are designed for dry operation on kitchen countertops. Never apply water, honing oil, or mineral lubricants to the diamond or ceramic discs. Liquids cause metal dust to form a sticky slurry that clogs abrasive pores and can loosen the backing of grinding plates. Simply wipe away accumulated metal dust with a dry cloth after each sharpening session.


Top Best Quiet Portable Generator Electric Start 2026 - (2026 Updated)

The 10 Best Portable Power Station For Tailgating 2026

10 Best Washing Machine For King Size Comforter of 2026 For Bulky Bedding

11 Best Semi Automatic Washing Machine Under 10000 of 2026 For Apartments and RVs

The Best Concrete Floor Buffer 2026 - Top Choices

Best Cooling Fan with HEPA Filter: Our 2026 Top Picks for Cleaner Air
Best poulan chainsaw 2026 - Reviews & Buying Guides

Value Picks: 10 Vitamix 5300 Best Price of 2026






