
How to Sharpen a Single Bevel Knife on a Whetstone

Most cooks assume every kitchen blade sharpens the same way, tilting both sides against a stone at matching angles. Doing that to a single bevel blade quickly destroys its shape. The true technique is much simpler: you rest the wide angled face completely flat against the stone to sharpen the edge, then flip the knife and lay the back side entirely flat with zero tilt to wipe away the thin lip of raised metal.
Your exact routine depends on the blade and its current state. Traditional Japanese knives have a slightly hollowed back, while basic chisel edges are flat, and both need gentle pressure so you protect the metal. The stones you have ready also matter. A dull blade needs a medium stone followed by a fine polishing block, while visible chips call for a coarse repair stone first. Here is how the geometry works and how to guide your blade through every stroke cleanly.
How the Angled Front and Hollow Back Work Together
A single bevel knife looks and cuts unlike an ordinary kitchen knife. Most Western knives feature a double bevel, meaning both sides slope inward toward the center to create a symmetrical V-shaped cutting edge. A single bevel knife, common in traditional Japanese cutlery like the yanagiba or deba, is ground on one side only.
The front side features a wide bevel (an angled sloping face leading to the cutting edge). The back side appears flat, but it contains the urasuki (a slight hollow dip scooped out along the back side). A narrow, flat rim borders this hollow along the edge, spine, and heel.
These two sides work together. When slicing fish or vegetables, the angled front pushes the cut piece cleanly away. At the same time, the hollow back traps a thin pocket of air, keeping wet slices from sticking to the steel and reducing drag.
Sharpening both sides like a normal knife ruins this balance. Tilting the back side against a stone grinds away the thin border around the hollow dip. Once that rim disappears, the blade steers off course during cuts, food sticks stubbornly, and repairing the factory profile requires advanced grinding.
Sharpening Tools You Need and What to Avoid
You need the right equipment before you start, and you must avoid tools designed for Western blades. Single bevel knives require a flat water whetstone (a flat water sharpening block). You need two stone grits: a medium grit around 1000 to set the cutting edge, and a fine finishing grit between 3000 and 6000 to polish the steel and clear away metal remnants.
You also need a stone flattening plate. Water stones wear down unevenly, especially under the wide front bevel of a Japanese blade. If your stone hollows out in the middle, it will round off your knife's straight edge.
Gather these items:
- A medium water whetstone (around 1000 grit): Sets the edge and sharpens away dull steel without removing excess metal.
- A fine finishing whetstone (3000 to 6000 grit): Polishes the bevel and removes microscopic metal burrs.
- A stone flattening plate: Keeps your whetstones dead flat before each sharpening session.
- Water in a spray bottle or basin: Lubricates the stone and flushes away loose metal particles.
- A non-slip stone holder or damp towel: Prevents the stone from sliding across your counter during use.
Avoid pull-through sharpeners and handheld steel honing rods. Pull-through sharpeners grind both sides simultaneously, which ruins the flat back. Steel rods concentrate heavy pressure on tiny contact points, which chips hard Japanese steel. While flexible blades in German high carbon steel knife sets respond well to steel rods, single bevel edges need flat stone contact.
Step-by-Step Guide to Sharpening and Deburring a Single Bevel Knife
Follow these steps in order to sharpen your blade without altering its shape:
- Soak or splash your whetstone with clean water. Submerge soaking stones for ten minutes until bubbles stop rising, or splash water across splash-and-go stones before placing them on your base. Reason: Water provides a smooth cushion that carries away loose metal particles and stops the stone pores from clogging.
- Flatten the whetstone with your flattening plate. Rub the flattening plate across the wet whetstone in wide circular strokes until the entire surface is level. Reason: Single bevel blades require complete surface contact, so any hollow dip in the stone will round off the crisp cutting edge.
- Match the front bevel flat against the stone. Lay the knife on the wet stone with the angled front facing down, rest your fingers across the bevel, and rock the blade until you feel the wide flat bevel rest flush against the surface. Reason: The wide bevel acts as its own guide, locking in the factory angle without any guessing.
- Sharpen the front bevel in overlapping sections. Starting near the heel, apply light downward pressure on the bevel with two fingers, push forward across the stone, and release pressure on the return stroke. Work along the edge in three-inch sections, giving each section fifteen to twenty smooth passes. Reason: Sectional sharpening ensures even metal removal along both the straight heel and the curved tip.
- Confirm that a burr has formed along the back side. Slide your thumb pad upward from the spine toward the edge on the flat back side to feel for the burr (a tiny raised lip of rough metal along the edge). Check from heel to tip. Reason: Feeling this rough wire edge across the entire blade confirms you have sharpened all the way to the apex.
- Lay the hollow back completely flat on your fine stone. Move to your fine finishing stone (3000 grit or higher), wet the surface, and lay the back side flush against the stone with zero tilt at the spine. Reason: Keeping the back flat prevents creating a secondary bevel or grinding away the raised border around the hollow urasuki.
- Clear the wire edge with gentle backward passes. With the back resting flat on the stone and light finger pressure on the blade, draw the knife straight backward for two or three smooth passes. Reason: Light, flat contact snaps off the curled wire edge cleanly without scratching the recessed hollow.
- Polish the front bevel on the fine stone. Return the front bevel to the fine stone at its matching flat angle, complete ten light passes per section, and finish with one last flat pass on the back. Reason: Polishing refines scratches from the medium stone and removes any leftover microscopic burr remnants.
Checking Blade Sharpness and Simple Daily Care
After sharpening, verify your edge before preparing food. Hold a sheet of printer paper by one corner and push the heel of the knife downward through the top edge. A sharp single bevel blade glides through the paper from heel to tip without snagging, tearing, or catching.
You can also inspect the edge under direct light. Look straight down at the cutting line. A dull edge or a remaining burr reflects light as a shiny white speck. A sharp, properly apexed edge reflects no light at all.
Follow these rules to protect your knife:
- Hand wash and dry immediately: Wash with warm water, mild soap, and a soft sponge right after use. Dry thoroughly with a towel to prevent rust, particularly on high-carbon steel.
- Cut on soft surfaces: Use soft wooden cutting boards, such as end-grain walnut, cherry, or soft rubber boards. Hard surfaces like bamboo, glass, and granite will chip the brittle edge instantly.
- Store the blade safely: Keep the blade in a fitted wooden saya (sheath) or mount it on magnetic knife blocks with stable bases rather than tossing it loose into a drawer.
- Oil carbon steel lightly: If your blade is made from high-carbon steel rather than stainless steel, wipe a drop of food-safe mineral oil across the steel before storing it.
What to Look for in Single Bevel Sharpening Equipment
Picking the right sharpening gear makes maintaining a single bevel knife straightforward. Because these blades rely on flat surface contact rather than freehand angle control, your stones dictate your results.
Choose water whetstones with broad surfaces. Blocks measuring at least seven to eight inches long and two and a half to three inches wide give you plenty of space to sweep the wide front bevel without running off the edge. Narrow pocket stones make it hard to maintain consistent contact across the blade road.
A double-sided stone with a 1000-grit side and a 4000-grit or 6000-grit side handles routine sharpening and polishing well. If you frequently slice delicate fish and want a mirror finish, add a dedicated 8000-grit stone.
Make sure your setup includes a sturdy rubber stone holder and a dedicated diamond flattening plate. The rubber base prevents slipping on wet counters, while the flattening plate ensures your stones stay flat before every session.

- TAR Score9.4
TAR Score is a ranking system developed by TopAppliancesReviews.com. TAR score has no relationship or impact from any manufacturers or sales agent websites. Learn more
- BrandUtopia Kitchen

- TAR Score9.2
TAR Score is a ranking system developed by TopAppliancesReviews.com. TAR score has no relationship or impact from any manufacturers or sales agent websites. Learn more
- BrandTerra Distribution
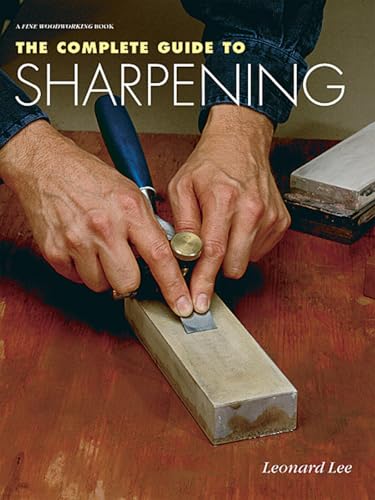
- TAR Score9.2
TAR Score is a ranking system developed by TopAppliancesReviews.com. TAR score has no relationship or impact from any manufacturers or sales agent websites. Learn more
- BrandTaunton Press

- TAR Score9.2
TAR Score is a ranking system developed by TopAppliancesReviews.com. TAR score has no relationship or impact from any manufacturers or sales agent websites. Learn more
- BrandIntelitopia

- TAR Score9.0
TAR Score is a ranking system developed by TopAppliancesReviews.com. TAR score has no relationship or impact from any manufacturers or sales agent websites. Learn more
- BrandN/A
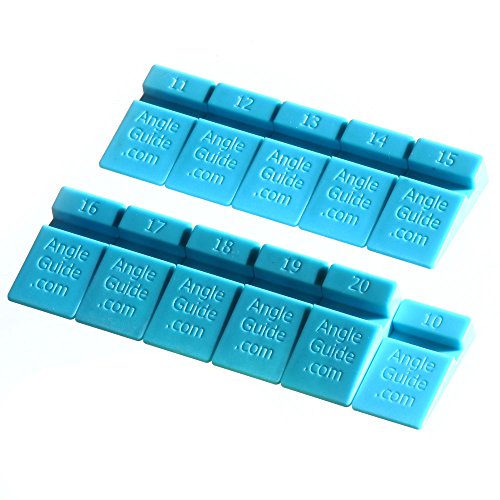
- TAR Score8.8
TAR Score is a ranking system developed by TopAppliancesReviews.com. TAR score has no relationship or impact from any manufacturers or sales agent websites. Learn more
- BrandWedgek

- TAR Score8.8
TAR Score is a ranking system developed by TopAppliancesReviews.com. TAR score has no relationship or impact from any manufacturers or sales agent websites. Learn more
- BrandLUFFEXX

- TAR Score8.0
TAR Score is a ranking system developed by TopAppliancesReviews.com. TAR score has no relationship or impact from any manufacturers or sales agent websites. Learn more
- BrandSHARPAL

- TAR Score7.8
TAR Score is a ranking system developed by TopAppliancesReviews.com. TAR score has no relationship or impact from any manufacturers or sales agent websites. Learn more
- BrandMSFULLSEA

- TAR Score7.6
TAR Score is a ranking system developed by TopAppliancesReviews.com. TAR score has no relationship or impact from any manufacturers or sales agent websites. Learn more
- BrandAudible
Last update on 2026-10-03 / Affiliate links / Images, Product Titles, and Product Highlights from Amazon Product Advertising API
FAQs
Why can I not sharpen both sides like an everyday kitchen knife?
A single bevel knife relies on an asymmetrical grind to cut straight and release food. The front has an angled bevel, while the back has a shallow hollow dip called the urasuki. Sharpening the back at an angle removes the flat border around the hollow, ruining the blade profile permanently.
How do I know when the burr has formed on the back?
Gently slide your thumb pad upward from the spine toward the edge on the flat back side. If your thumb catches on a rough, scratchy ridge along the cutting line, the burr has formed. Check from heel to tip to confirm the wire edge runs along the entire blade.
Can I use a steel honing rod to touch up a single bevel blade between sharpenings?
No, you should never use a honing rod on a single bevel knife. Steel rods focus heavy pressure on a tiny contact point, which chips hard, thin Japanese steel. Rods also round off the flat back side. Instead, use a few light passes on a fine 6000-grit water whetstone.
What should I do if my single bevel blade has a chip or nick?
Small micro-chips can be cleared on a coarse 400-grit water stone by working the front bevel until the metal is level with the chip. Deep notches or broken tips require significant metal removal without thinning the hollow back. Send damaged blades to an experienced Japanese knife sharpener.


Top Rated Best Quality Range Hoods: 2026 Expert Picks

The 12 Best Small Solar Generators 2026

10 Best Quality Semi Automatic Washing Machine of 2026 For Leak-Free Laundry

11 Best Small Washer Machine of 2026 For Everyday Laundry

12 Best Vibration Pads For Washing Machine of 2026 To Stop Walking and Shaking

11 Best Selling Front Load Washing Machine of 2026 For Quiet Odor-Free Laundry

11 Best Washing Machine For King Size Bedding of 2026 To Prevent Cycle Errors

10 Best Small Front Loader Washing Machine of 2026 For Tight Closets






